

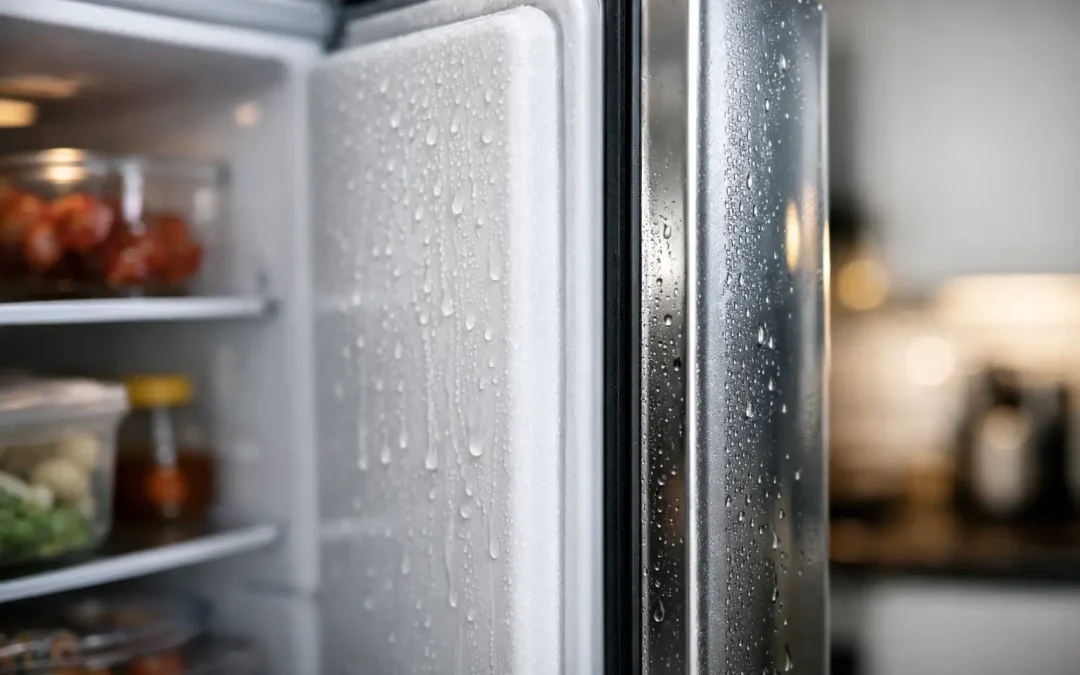
A refrigerator door covered in water droplets can look like a small problem, but the moisture can damage nearby cabinetry, drip onto the floor, and eventually lead to mold or rust. If you are asking, why is refrigerator door sweating, the short answer is that warm, humid air is meeting a cold surface. The real question is why your refrigerator is allowing enough humidity to reach that surface.
A few drops during a heat wave may be normal. Persistent sweating, puddles, or moisture around the door gasket deserve attention. Here is how to identify the likely cause, what you can safely check yourself, and when a refrigerator technician should take over.
Why Is Refrigerator Door Sweating on the Outside?
Condensation forms when humid air touches a surface that is cooler than the air’s dew point. Your refrigerator door is designed to stay cool, but modern units use insulation, door seals, and sometimes built-in anti-sweat heaters to keep the exterior dry.
When the room is hot and humid, especially during summer or while the air conditioning is off, the refrigerator has to work harder to prevent condensation. A door may sweat temporarily after a long period of cooking, a humid day, or repeated door openings. If the moisture disappears when indoor humidity drops, the appliance may be operating normally.
If the sweating continues in ordinary indoor conditions, a failed seal, incorrect setting, airflow issue, or electrical component problem is more likely. Addressing it early can prevent a much more expensive cabinet, flooring, or cooling repair.
Start With the Door Gasket
The rubber gasket around the refrigerator door creates the seal that keeps cold air in and warm air out. When it is dirty, warped, torn, or loose, humid kitchen air can slip into the refrigerator. That air causes interior frost and can also create condensation along the outside edge of the door.
Run your hand slowly around the closed door. If you feel cold air escaping, see gaps in the gasket, or notice the door does not close firmly, the seal needs attention. Food packages, bins, or shelves that prevent the door from closing fully can create the same symptoms.
Clean the gasket with warm water, mild dish soap, and a soft cloth. Wipe the matching door frame as well, then dry both surfaces completely. Avoid harsh chemicals or sharp tools that can damage the rubber. If the gasket is cracked, flattened, or pulling away from the door, it may need to be replaced and properly fitted.
Try the paper test
Close the door on a strip of paper or a dollar bill. When you pull it out, you should feel firm resistance. Test several spots around the door, not just one area. Little or no resistance at a particular point is a strong sign that the gasket is not sealing there.
A paper test is useful, but it does not diagnose every problem. A door that is misaligned or sagging can still pass in some areas while letting air in around the corners.
Check the Refrigerator Settings and Door Position
Very low temperature settings can make exterior condensation more likely, particularly in a humid kitchen. For most refrigerators, the fresh-food section should be around 37 to 40 degrees Fahrenheit, while the freezer should be near 0 degrees Fahrenheit. Setting the controls to the coldest level will not necessarily cool food faster, but it can increase run time and strain the system.
Adjusting an overly cold setting may help, but give the refrigerator a full 24 hours to stabilize. Do not make several changes in the same day, or it becomes difficult to tell what solved the issue.
Also check whether the refrigerator sits level. A slight backward tilt is usually needed so the doors close by themselves from a partially open position. If the unit leans forward, a door may rest open just enough to bring humid air inside. An overloaded door shelf, loose hinge, or worn cam can also cause a door to sag.
Look at the Humidity in the Room
Sometimes the refrigerator is not the source of the problem. A humid home can overwhelm even a properly working appliance. Steam from cooking, frequent use of a dishwasher, poor kitchen ventilation, a nearby laundry area, or a basement location can all raise humidity around the refrigerator.
Use the range hood when cooking and ensure it vents effectively. If practical, run air conditioning or a dehumidifier during humid weather. Leave space around the refrigerator for air to circulate, and do not block vents at the bottom, back, or top of the unit.
This is especially relevant if moisture is appearing only during certain weather conditions. A refrigerator that sweats on a 90-degree humid day but remains dry the rest of the year may need better room humidity control rather than a major repair.
Anti-Sweat Heater Problems Can Cause Condensation
Many refrigerators use a low-wattage heater around the cabinet or door frame to prevent exterior moisture. Depending on the model, it may be called a mullion heater, cabinet heater, or anti-sweat heater. Some appliances have an energy-saver setting that reduces heater operation to save electricity.
If your refrigerator has an energy-saver or humidity-control setting, check the owner’s manual and try switching it to the setting recommended for humid conditions. This can be a reasonable first step when condensation is limited to the center strip between French doors or around the door frame.
If changing the setting does not help, the heater circuit, control board, wiring, or sensor may have failed. These parts require diagnosis with electrical testing equipment. Do not remove panels or attempt live electrical testing without proper training. A refrigerator can appear to cool normally while its anti-sweat system is not working.
Do Not Ignore These Warning Signs
Exterior sweating is more urgent when it comes with cooling or sealing symptoms. Schedule service promptly if you notice any of the following:
- Water pooling on the floor or soaking the cabinet beside the refrigerator
- Frost buildup inside the fresh-food section or freezer
- Food that is warmer than usual, soft frozen food, or frequent temperature swings
- A door that will not stay closed or has visibly damaged hinges or gaskets
- Condensation that remains after cleaning the gasket, checking settings, and reducing room humidity
Water around an appliance is never something to ignore. Wipe it up immediately to reduce slip hazards and protect wood flooring. If moisture is near an outlet, power cord, or exposed wiring, avoid touching electrical components and arrange professional help.
What a Refrigerator Technician Will Check
A proper service visit starts with confirming whether the moisture is normal environmental condensation or evidence of a refrigerator fault. The technician can inspect gasket contact, hinge alignment, cabinet leveling, door closing force, and temperature settings. They can also check internal airflow, evaporator performance, defrost operation, and the anti-sweat heater circuit when the model has one.
This approach matters because replacing a gasket will not solve a failed heater, and changing a control setting will not correct a sagging door. Clear diagnosis helps avoid paying for parts that do not address the source of the problem.
For homeowners who need fast, straightforward help, Insta Fix Repairs can diagnose refrigerator door condensation on-site, explain the repair options clearly, and provide a transparent estimate before work begins. Same-day availability may be possible depending on scheduling and parts required.
Keep the Door Dry and Protect Your Kitchen
Once the issue is fixed, keep the gasket clean, avoid overloading door shelves, and check that the door closes fully every time. Maintain reasonable indoor humidity when possible, particularly during warm weather. These small habits reduce strain on the refrigerator and help the door seal last longer.
A dry refrigerator door is more than a cosmetic detail. If moisture keeps returning, treat it as an early warning and have the cause checked before water turns into damaged floors, spoiled food, or a larger refrigerator repair.